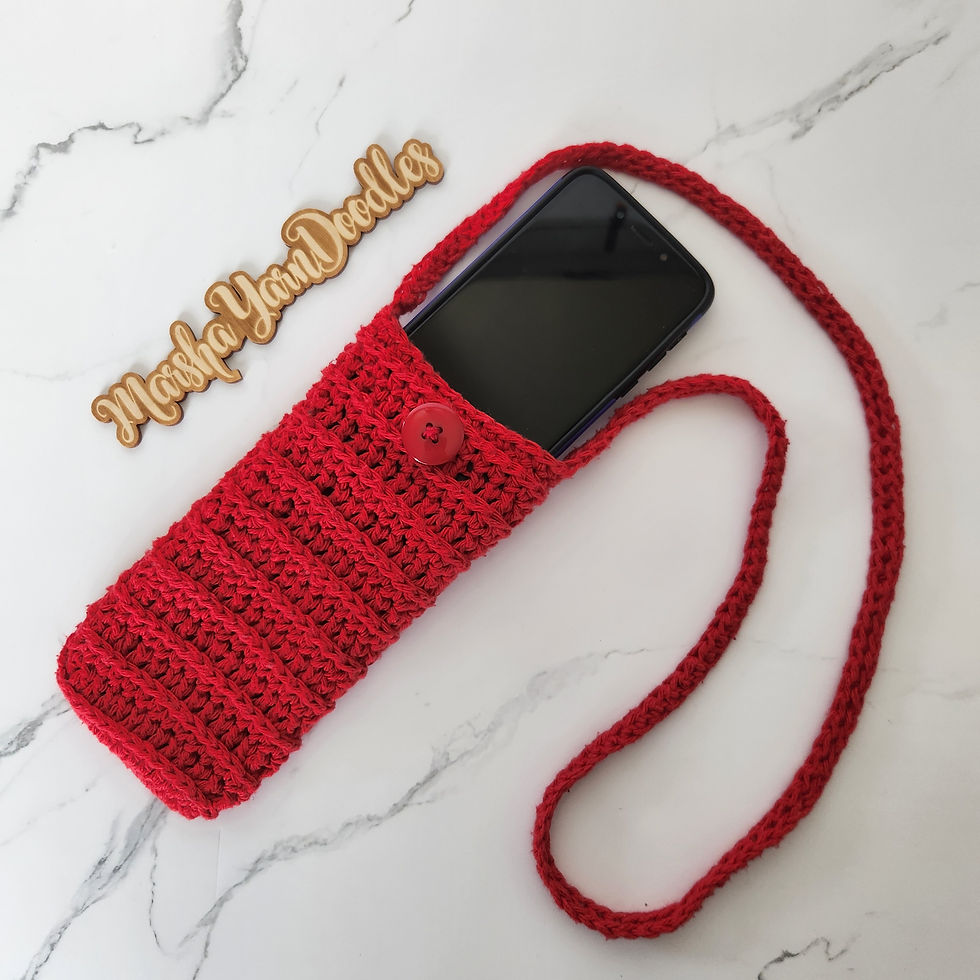
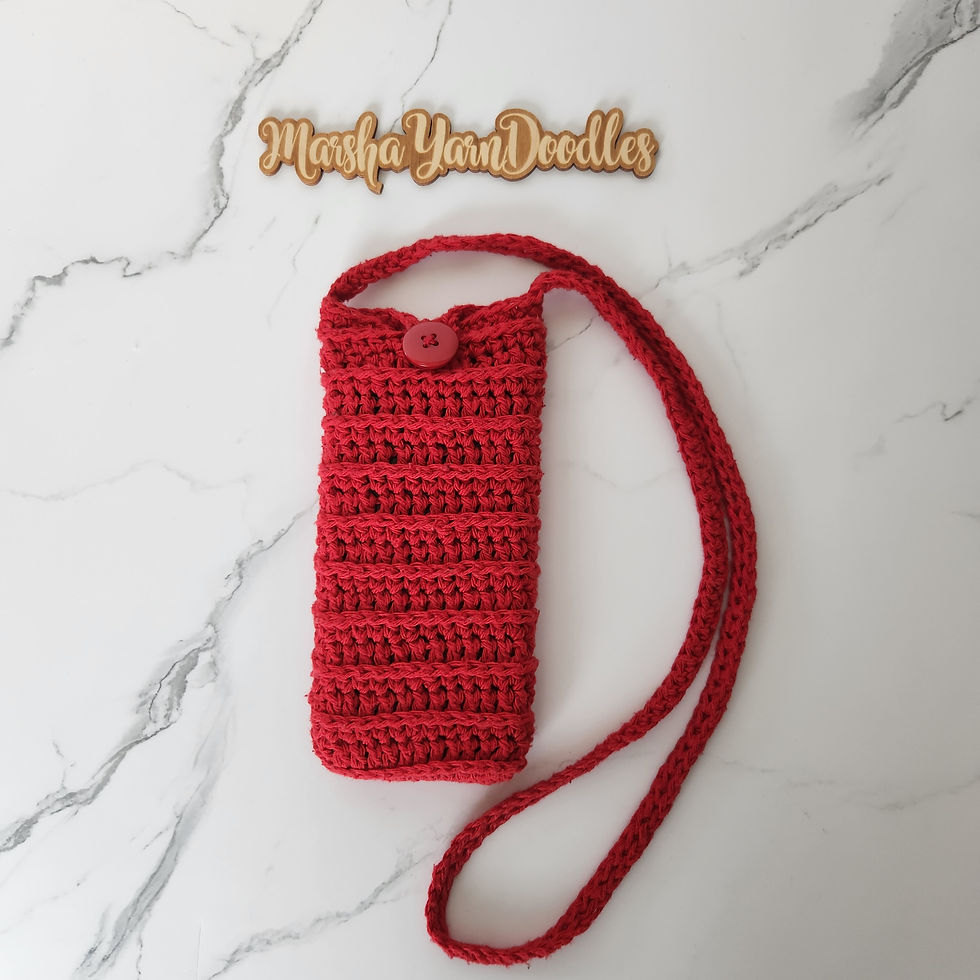
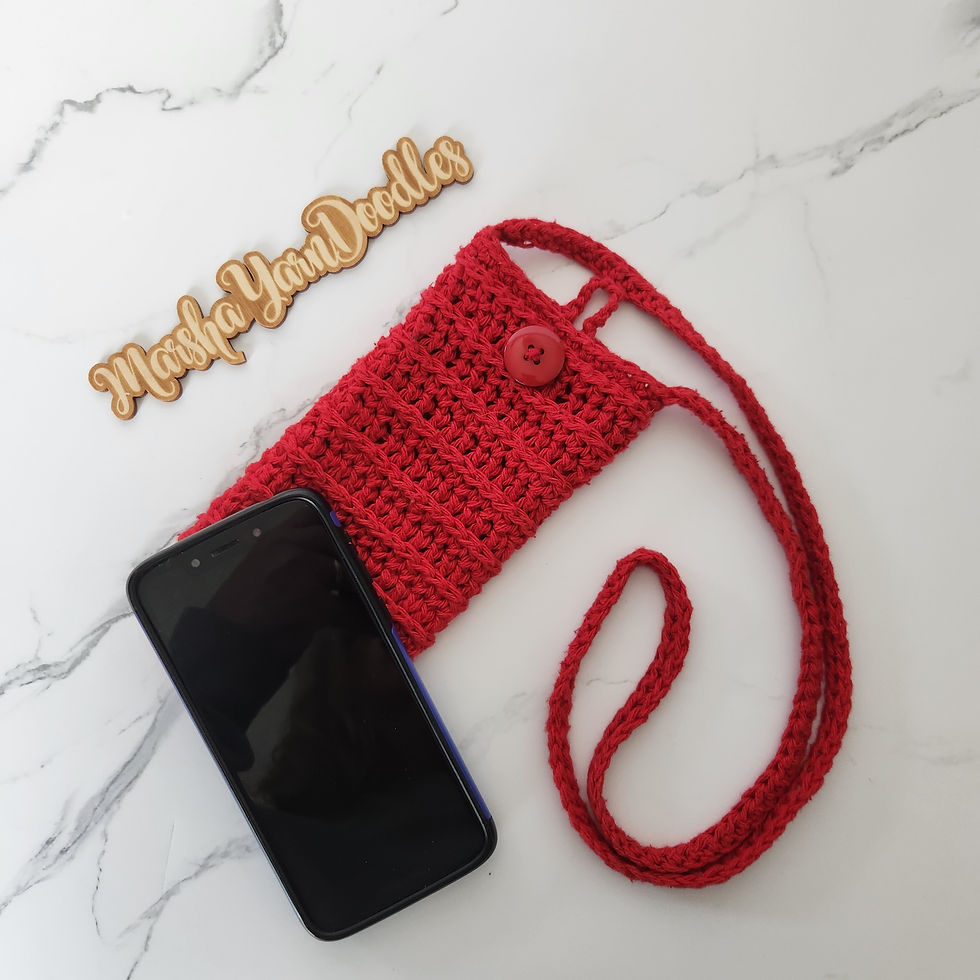
Ridged Phone Pouch
- Dec 31, 2024
- 3 min read
Updated: Jan 3
The “Ridged Phone Pouch” crochet pattern is also available as a premium PDF download on Ravelry.
Tired of misplacing your phone or constantly digging through your bag to find it? Say goodbye to the hassle and create your own stylish, functional accessory.

Quick and easy to work up, the Ridged Phone Holder combines practicality with personalized flair.
Create multiple holders in a variety of colors to match any outfit or mood, all while keeping your phone conveniently at your fingertips, so no more searching through bags or pockets. Perfect for gifting or selling at your next market, this quick and enjoyable pattern is a must-have!

Materials
➤Yarn: 100% Cotton
➤Yardage: 60-90 yds
➤Hook: 5.5 mm
Stitches & Abbreviations
US Terminology
➤ * * = Repeat stitch pattern between * *
➤ Ch# = Chain number of times specified
➤ St/Sts = Stitch/Stitches
➤ SS = Slip Stitch
➤ SK# = Skip number of sts specified
➤ SC = Single Crochet ➤ HDC = Half Double Crochet
➤ DC = Double Crochet
➤ TLO = Third Loop Only of HDC (Moogly Tutorial) (3rd loop is sometimes referred to as ‘back bump’ or ‘back bar’)
Notes & Special Instructions
➤ Chains at beginning of a round/row NEVER count as a stitch.
➤ I suggest using the invisible join for a seamless look when finishing off.
Heart Hook Home video tutorial for Invisible Join ➤ When the pattern says “Pull yarn loop at join to back of work”: Remove hook from yarn, at join insert hook from back to front, grab yarn loop & pull through stitch. This will help give it a more finished look. If you do not like the look of this, just continue as normal.

RIDGED PHONE POUCH PATTERN
NOTES: | This piece is worked in Rounds. At end of each round, SS to 1st st to join & do NOT turn. RIGHT/FRONT side of piece will be facing you at all times. End of Rnd st count remains the same throughout. (28) This size pouch will comfortably fit approx. 3.5”W x 6.5”H phone (customizable). If you need it to fit a narrower/wider phone, +/- number of beginning chains. If you need it to fit a shorter/taller phone, +/- number of times you repeat Rnds 3-4. REMINDER: Pattern is written using a chainless beginning DC. Use your preferred method for 1st DC. |
Rnd 1: | TIP: Be sure to chain loose enough to work into both sides of the starting chain. Ch14, 2 SC in 2nd back bump from hook, 1 SC in each of next 11 back bumps, 3 SC in last back bump. Continue working in same direction (into back side of the chain): 1 SC in each of next 11 sts down back of starting chain. 1 SC again in 1st st. |
Rnd 2: | Ch1, 1 HDC in each st around. |
Rnd 3: | NOTE: This rnd is worked into the TLO of HDC from previous round. The 3rd loop will be on the backside of your work. At beginning of rnd, pull yarn loop at join to back of work for cleaner look. 1 TLO-DC in each st around. |
Rnd 4: | NOTE: To keep seam more straight, Ch2 & skip 1st/join st. At end of rnd place last HDC over Ch2 in skipped (1st/join) st. Ch2, SK1, 1 HDC in each st around. |
Rnds 5-20*: | Repeat Rnds 3-4 (*8 more times OR as many times as needed to reach desired height). |
Rnd 21: | Ch1, 1 TLO-SC in each st around. |
Rnd 22: | NOTE: You can +/- number of sts of BUTTON HOLE/LOOP to fit your button of choice. You can +/- number of sts of STRAP to your desired length. BACK OF POUCH: Ch1, 1 SC in 1st & each of next 6 sts, Ch10 (button hole/loop), 1 SC in each of next 7 sts. STRAP: Ch100 (strap), on opposite side of pouch SS to 1st SC of rnd. SS again to last SC of previous rnd. 1 HDC in 2nd back bump from hook, 1 HDC in each back bump across. FRONT OF POUCH: On opposite side of pouch 1 SC in each of next 14 sts. Fasten off & weave in ends. |
BUTTON: | Attach button on FRONT side of pouch, in center of last DC rnds. |


Comments